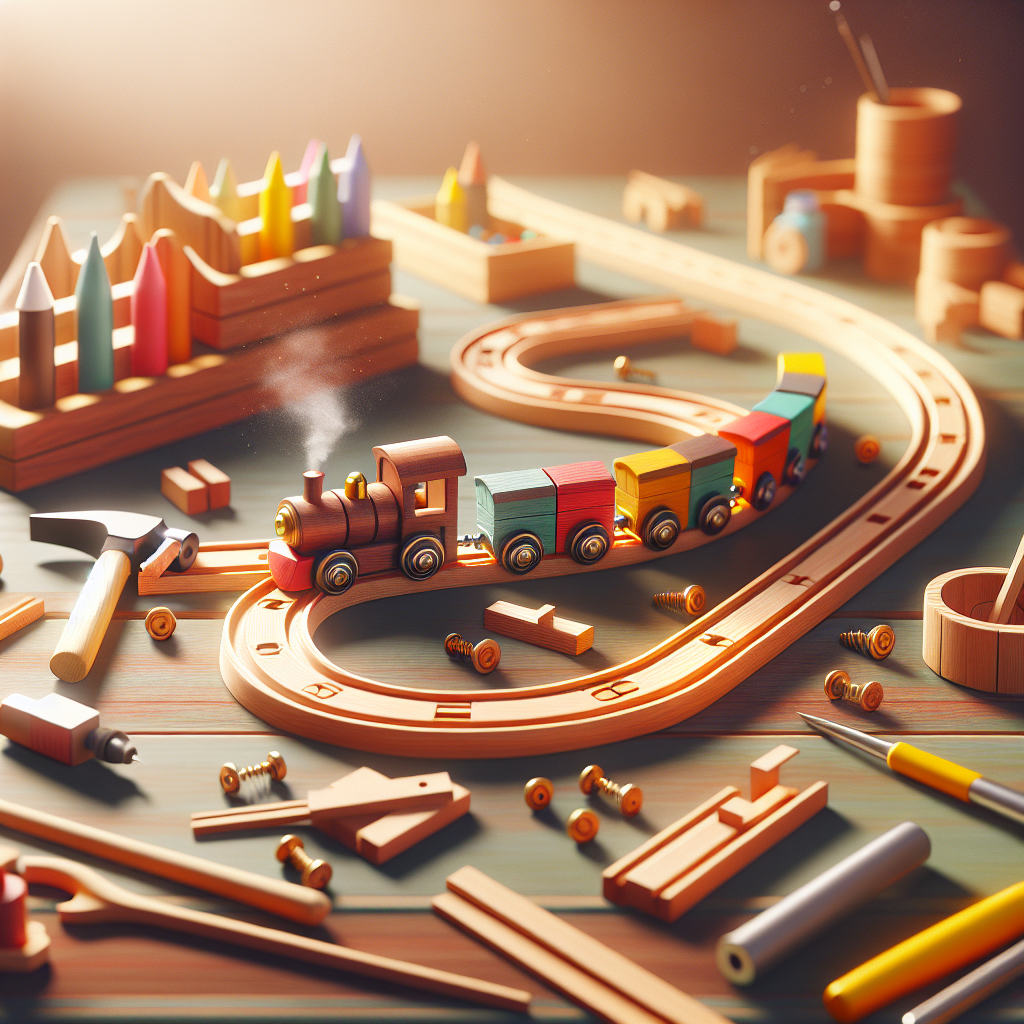
How to Build a DIY Toy Train Track: A Fun and Creative Project 🚂
Welcome to this exciting guide on building your very own DIY toy train track! Whether you’re looking to bond with your kids or unleash your inner child, creating a toy train track is a rewarding and enjoyable experience. This blog post will guide you through the process, step-by-step, ensuring you have all the tips and tricks you need to succeed. Let’s dive in!
Table of Contents
1. Introduction
2. Materials Needed
3. Step-by-Step Guide to Building Your Toy Train Track
3.1 Planning Your Track Design
3.2 Preparing Your Workspace
3.3 Assembling the Track
3.4 Adding Creative Touches
4. Safety Tips
5. Conclusion
6. Frequently Asked Questions (FAQs)
Introduction
Building a DIY toy train track is not just about the end result but also the journey of creativity and learning. This project is perfect for families, hobbyists, or anyone who loves trains. Not only does it provide a wonderful opportunity for bonding and creativity, but it also helps develop problem-solving skills and spatial awareness.
Materials Needed
Before you start, gather the following materials to ensure a smooth building process:
– Wooden train tracks or build-your-own track kits
– Toy train engines and cars
– Wooden or plastic connectors
– Non-toxic paint and brushes
– Sandpaper
– Glue (preferably a child-friendly option)
– Decorations (trees, buildings, etc.)
– Measuring tape
Step-by-Step Guide to Building Your Toy Train Track
3.1 Planning Your Track Design
The first step is to plan your track design. Think about the space you have available and the type of track you want to create. Do you envision a simple loop, or are you aiming for a more complex design with bridges and tunnels? Sketching your design on paper can help you visualize the final product.
3.2 Preparing Your Workspace
Select a large, flat surface for your workspace. Ensure it’s clean and free of any debris that could interfere with assembly. Having a dedicated space will make the process more enjoyable and organized.
3.3 Assembling the Track
Start by laying down the base of your track. Use connectors to join the track pieces together, ensuring a snug fit. If you’re using a kit, follow the instructions provided. Remember to leave some space for additional features like stations or tunnels.
If you’re crafting the track from scratch, you may need to sand the edges of the wood for a smooth finish. This is especially important if children are involved, as rough edges can cause splinters.
3.4 Adding Creative Touches
Once your track is assembled, it’s time to get creative! Paint the tracks and surrounding areas to give it a vibrant look. Add decorations such as trees, buildings, and bridges to make the scene come alive. This is where you can let your imagination run wild, creating a miniature world for your trains to explore.
Safety Tips
Safety is paramount, especially if young children are involved. Ensure all materials are non-toxic and child-safe. Keep small parts, such as connectors or decorative pieces, out of reach of toddlers to prevent choking hazards. Supervise children during the building process to ensure they use tools and materials safely.
Conclusion
Building a DIY toy train track is a fantastic way to spend quality time with family or enjoy some peaceful solo crafting. It combines creativity, problem-solving, and a love for trains into one delightful project. Whether you create a simple loop or an intricate railway system, the joy it brings is immeasurable. So grab your materials, unleash your creativity, and start building!
Frequently Asked Questions (FAQs)
Q: Can I use recycled materials for the track?
A: Absolutely! Recycling materials like cardboard or old wooden planks can add a unique touch and is eco-friendly.
Q: How do I ensure the track pieces stay connected?
A: Using connectors specifically designed for toy tracks will help. If you’re building from scratch, consider using small magnets or Velcro for a secure fit.
Q: What type of paint should I use?
A: Non-toxic acrylic paint is ideal for this kind of project. It’s safe for kids and provides vibrant colors.
Q: How can I make the track more challenging for older kids?
A: Adding elements like bridges, switches, and tunnels can increase the complexity and make it more engaging for older children.
Enjoy your train-building adventure, and may your tracks lead to endless fun and creativity! 🚂✨
